Toy Photography is a form of expression which combines the passion for figures with the love for photography. In this article we will explore the basics to shoot memorable pictures of your action figures and bring your collection to life.
When it comes to Toy Photography, rarely people consider these images an art, and their creative potential is often underestimated. This limited perspective disregards the Instagram profiles of many photographers, who have found in this genre a powerful language. In fact, this visual art offers the opportunity to explore imaginary worlds, transforming objects into animated protagonists of evocative scenes.
Let’s discover some tricks to create beautiful images with your action figures!
Contents
How to Find Toy Photography Ideas
The first step to make good photos is to imagine a story. This will be the starting point of the project, on which all the subsequent steps depend. In fact, according to your idea, you will choose the characters, the set, the framing and, finally, the lighting scheme.
At this stage, it is best not to limit creativity and postpone practical considerations for later. Don’t worry if you don’t have original ideas: you can recreate iconic scenes from a character story or draw inspiration from the images you find on the web.
Once you define the story, you can choose the toys that best suit your project. In this sense, our suggestion is to prefer articulated figures, which allow for greater freedom in terms of posing. Said this, it’s obvious that the selection will also depends on the models you have available in your collection.
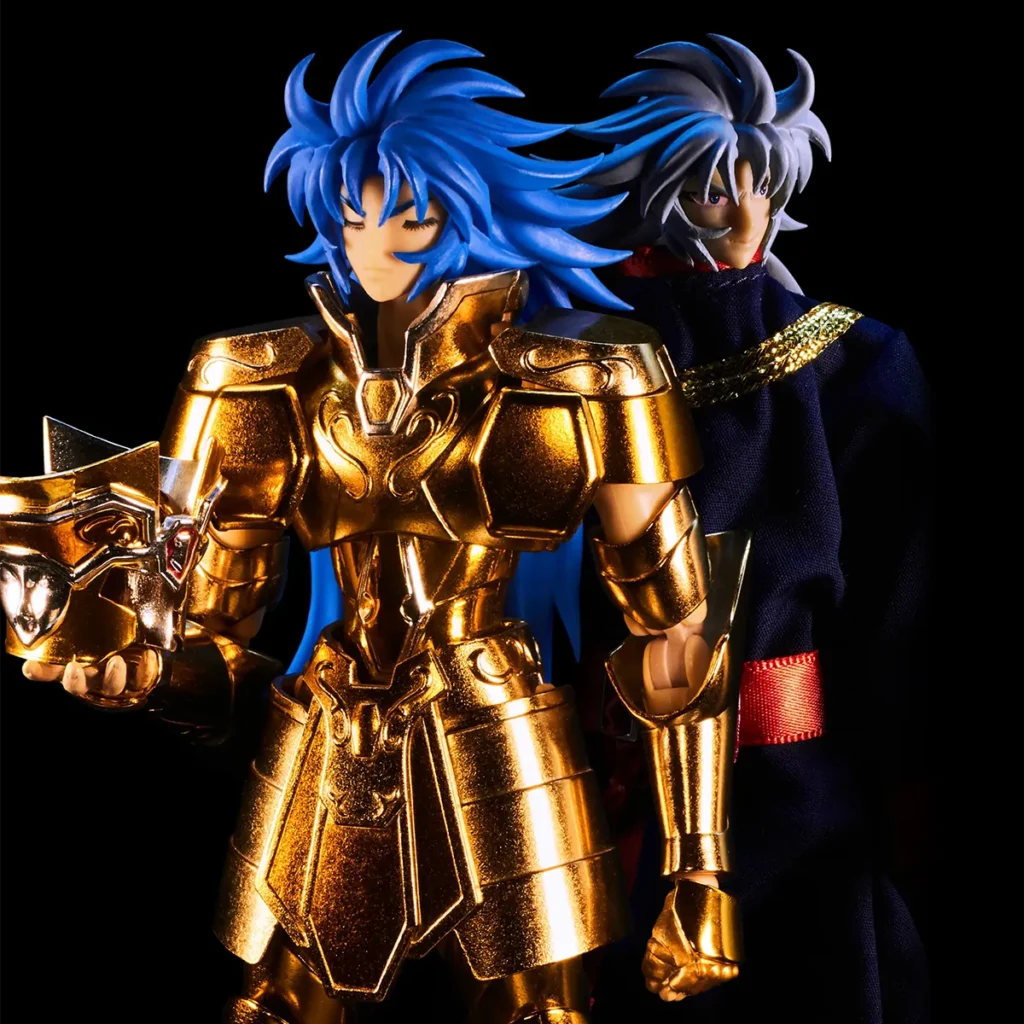
At a general level, it is not necessary to photograph expensive models. You can achieve beautiful images even with cheap toys toys. However, the more detailed the characters, the better will be the result (i.e. Bandai Soul of Chogokin and Saint Seiya Myth Cloth). Lego sets are also an excellent starting point. In fact, they provide a highly creative source of inspiration, while helping understand the challenges related to photographing small objects.
How to Manage the Shooting Location
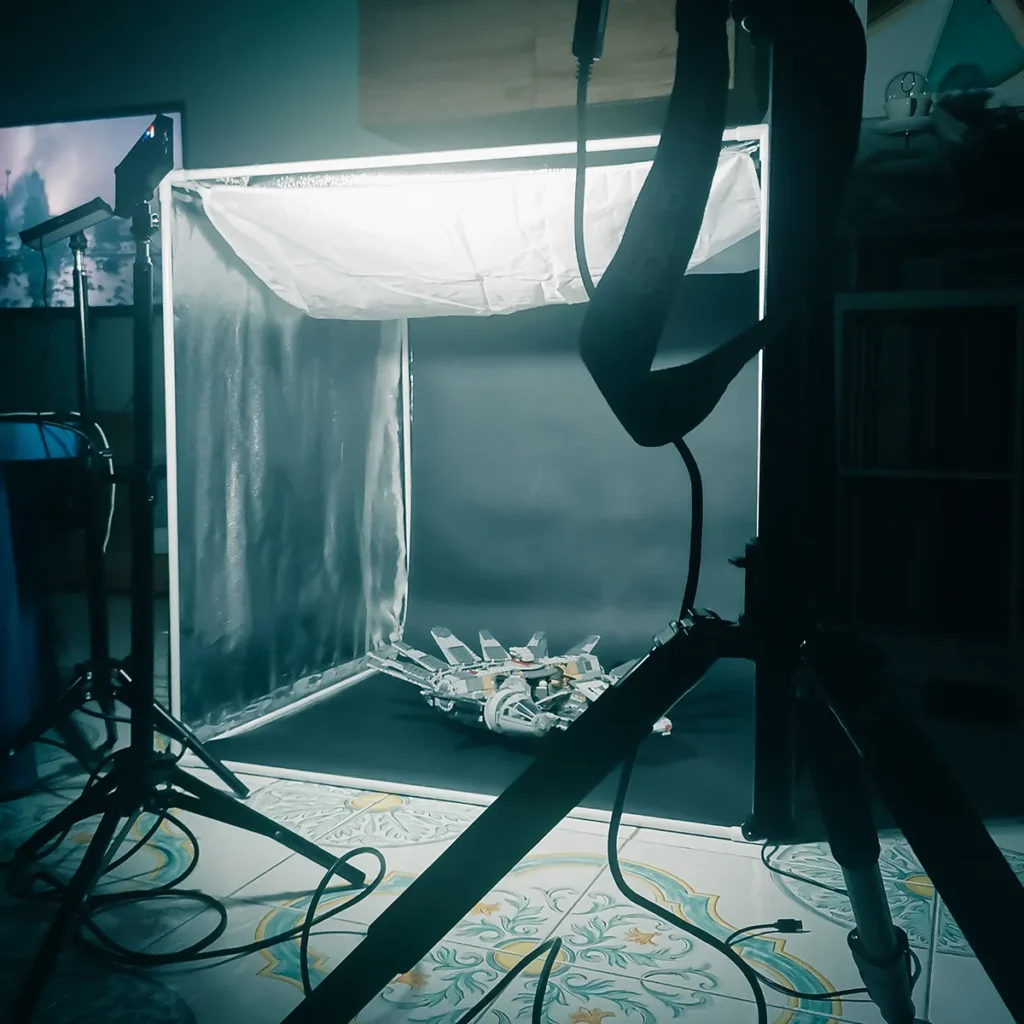
According to the story, you can proceed with choosing the location. Fortunately, when it comes to toy photography, you don’t need huge spaces. In fact you can use small domestic settings or create a low-cost home studio. The first option is preferable when you want to recreate realistic environments (i.e. a garden or a small forest). The second, instead, allows for a more controlled approach and it’s perfect if you shoot a plain background or a small set of miniature props.
Personally, I often use a portable photo studio, which is convenient when you don’t have a dedicated space. In fact, it is very quick to assembly and allows for easy management of lights and reflections. I own two of them, medium and large size, which I choose according to the space required. Both of them are very flexible and have multiple openings, to freely shoot the models from different angles. In addition, they include a number of colored backgrounds and adjustable LED lights for a basic scene lighting.
How to Find the Best Camera Settings for Toy Photography
As always, when it comes to creativity, there’s no predetermined rules. To obtain the perfect photo you need to learn the basics and adapt to the specific shooting situation.
At a general level, remember that “photographing” means writing with light. Therefore, it can help thinking of your camera as a pencil, with exposure representing the thickness, and shutter speed the time you press the tip on the paper.
Exposure, in particular, also affects depth of field, which is the length along which objects are in focus. More specifically, the larger the aperture, the shallower the depth of field. Keep this in mind if you want to focus on a character, keeping the background blurred.
How to Use Lights in Toy Photography
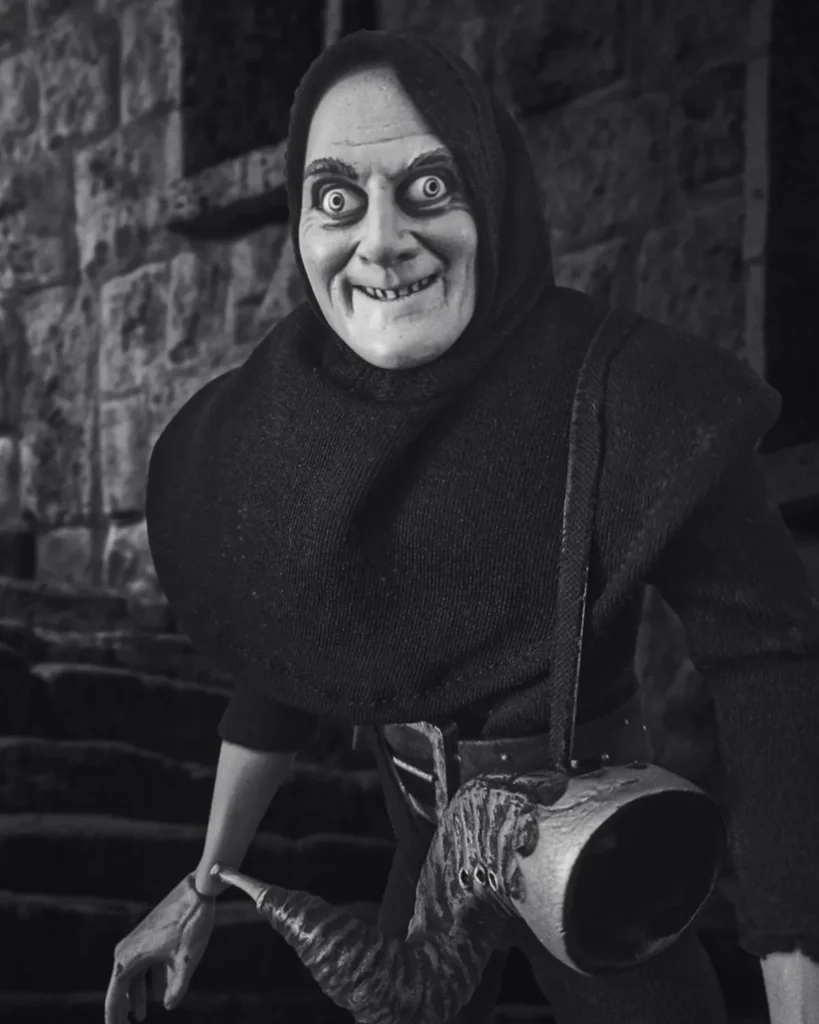
Light is the key aspect of photography as it defines the style of storytelling and how images are emotionally perceived. You can use environmental or artificial lights, thus achieving different visual approaches. As a creative aspect, lighting cannot be entangled into rigid rules but needs to be defined according to project needs. This means you need to test different angles, in order to find the scheme that best suits your idea.
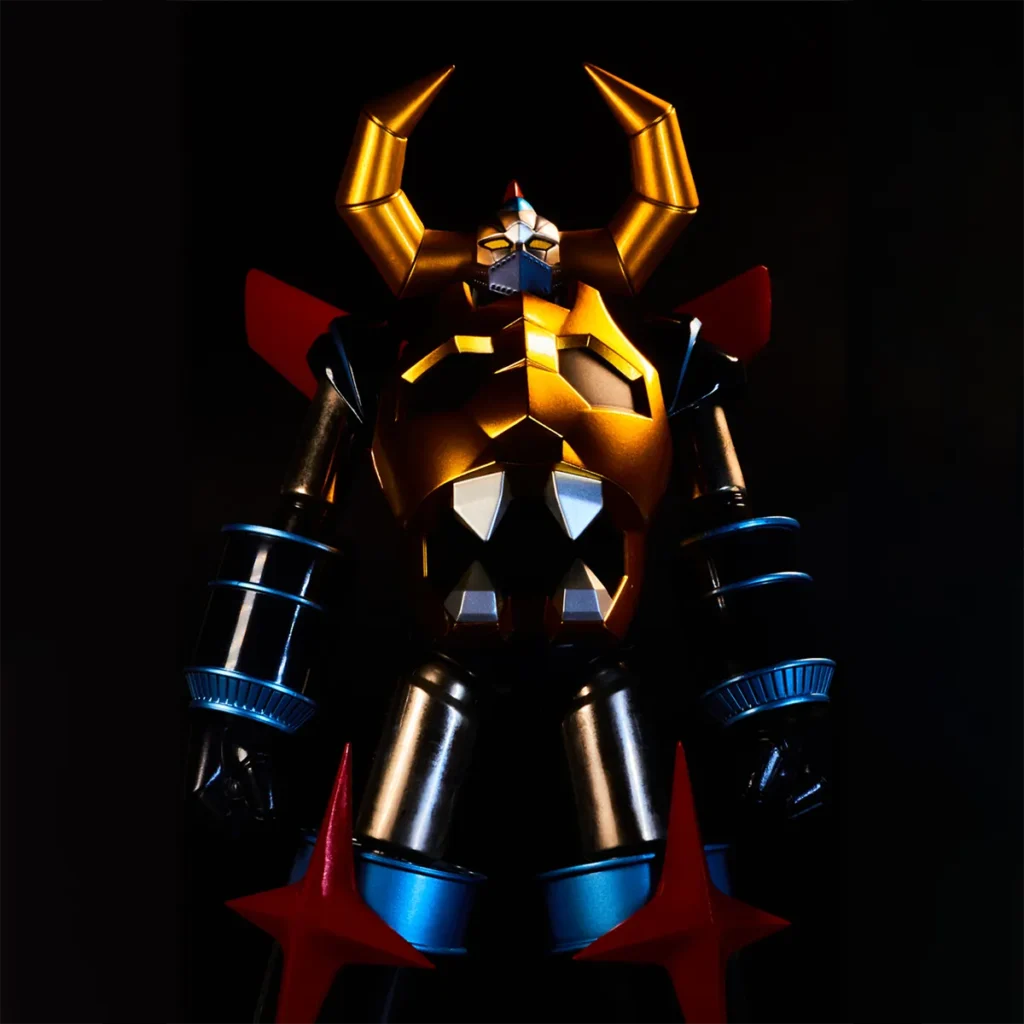
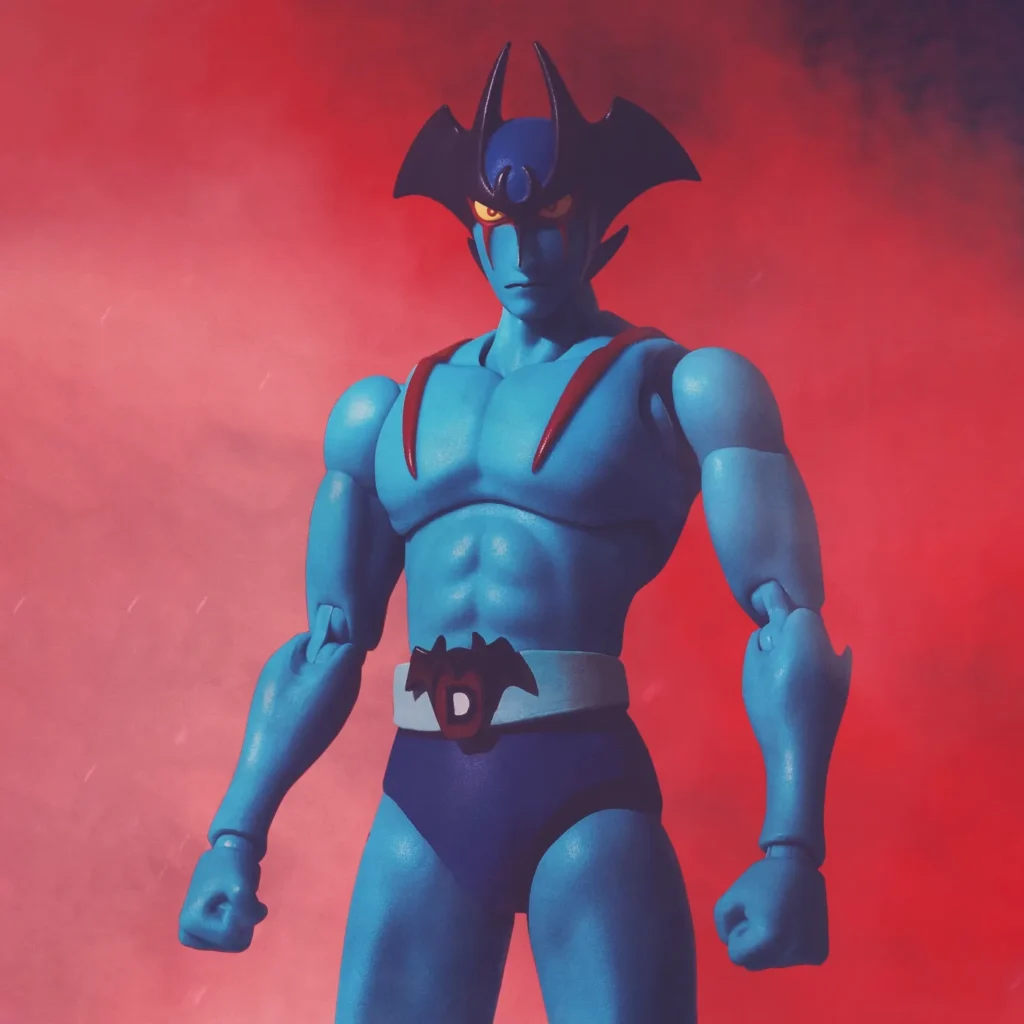
In general, however, a good piece of advice is not to limit yourself to front lighting the subjects. You can try angling the light direction, in order to create evocative effects. For example, you place the lights behind the subject: it will help you create more dramatic and exciting scenes.
What is the Essential Toy Photography Equipment
The fun of toy photography is that it doesn’t require expensive equipment and can be done even with a smartphone. However, it is clear that more advanced gear allows for greater freedom in terms of production. In general, the fundamental aspect is being able to capture small objects, adjusting the focus from close distances.
If you want to experiment with a DSLR camera, you can try Canon EOS 250D. This lightweight and handy camera is a great solution for beginners, with loads of functions to simplify the shooting process. It comes with a standard 18-55 cm lens. Autofocus, 4K video recording, and a tiltable display on the back will help you adapt to many situations.
I would also suggest getting a tripod. It helps stabilize your photos and meet the need for longer shutter speeds to prioritize exposure. In my opinion, Neewer offers loads of versatile and affordable solutions, but you can find plenty of options on Amazon.
As long as you practice Toy Photography, you may need to enhance your lighting options. Fortunately, you won’t need to break the bank for that, since there is plenty of low-cost solutions on the web. For example, you can buy portable LED RGB lights, with adjustable intensity and temperature. You can place these devices either on the scene or on a dedicated supports. Sometimes you can use them in RGB mode, in order to create unique color effects.
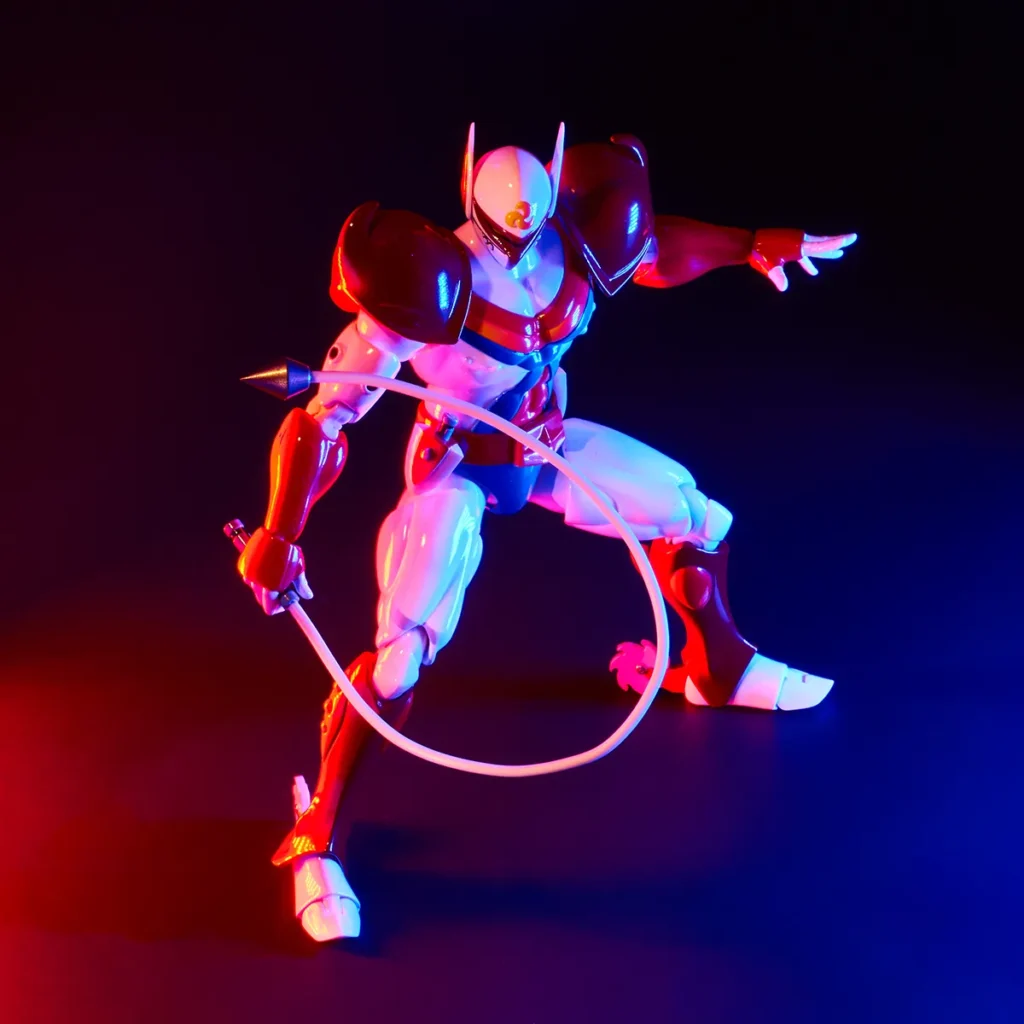
I often use Moman LED RGB Lights, which are very useful both in photo and video shooting. In fact, they feature a very good intensity range and they can easily adapt to the set. In case, they can even be mounted on a camera for maximum agility.
ULANZI VL49 are an excellent alternative solution. In fact, these small and affordable RGB spotlights are particularly suitable for beginners. They feature a very bright light but, thanks to the included diffusers, they can easily achieve a softer look.
Conclusions
In conclusion, Toy photography is an art that combines the passion for toys with the love for photography. Over the last years, it has captivated numerous photographers, who consider it an impactful tool for expression. Not only it represents a new frontier in artistic photography, it is a fun and exciting hobby, that can be pursued even at home with no need for expensive equipment.
To experiment Toy Photography, you need to learn the basics of photography, in order to achieve good storytelling, framing and lighting. This will help you bring your toy collections to life and have fun with your favorite and most inspiring pieces. If you’re a toy collector or a photography enthusiast, you should really challenge your creativity with it. I am curious to see the results!


